
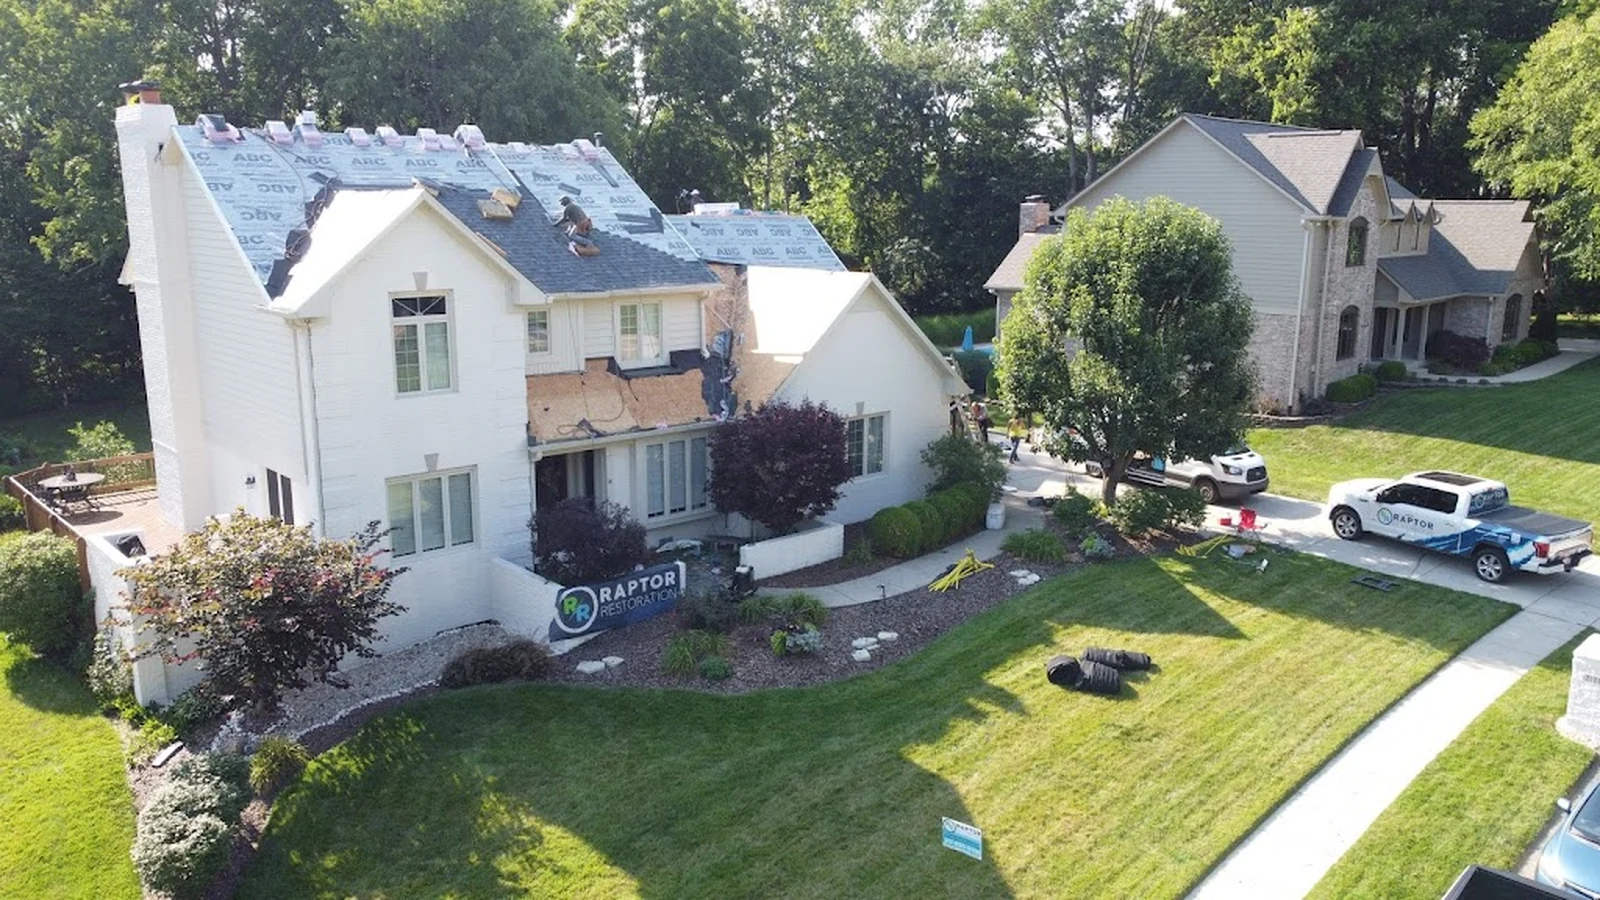
The details around the shingles
Roof flashing helps manage water where roofing meets a wall, chimney, pipe, or other interruption. When one of those details needs attention, the repair may involve more than the metal you can see.
For a Central Indiana homeowner, the most useful questions are practical: Which detail is involved? What condition was found? Which surrounding materials need to be opened? And how will the repair reconnect with the roof that remains?
This guide helps you discuss the work with an inspector and read the flashing portion of a repair proposal.
01 / Your repair decision
Ask which detail needs attention
Roof-to-wall and step flashing
Where a sloping shingle roof meets a sidewall, step flashing works with the shingles and wall’s water-management layers. Ask whether the concern is with the flashing itself, how it connects to the wall, adjoining roofing, or another part of the assembly. Water near siding does not automatically mean a surface bead of sealant is the complete solution.
Chimney flashing
A chimney repair may involve base flashing, counterflashing, surrounding shingles, and conditions in the masonry. Ask the inspector to distinguish the roof work from any chimney work that needs another trade. Have the proposal identify which parts are being reused or replaced and who will handle the adjoining materials.
Pipe boots and other penetrations
Vent pipes and other openings need flashing integrated with the roofing around them. Ask whether the proposed work replaces a component, repairs a connection, or addresses a larger surrounding area. The Building America Solution Center’s roof-penetration guidance explains why these details need to connect continuously with the roof’s water-control layer.
Valleys and changing roof shapes
A valley is where roof slopes meet and water collects on its way down the roof. The materials and detailing can differ between roofing systems. Ask the contractor to identify the existing valley construction rather than assuming every valley has exposed metal.
A home with several dormers, roof additions, or wall intersections may have multiple details to assess. Ask which were inspected, which support the current repair recommendation, and which could not be safely or fully examined during the visit.

02 / Your repair decision
Look beyond “seal flashing” on the estimate
Clarify what is being repaired
Ask for a photo and a location description you can recognize from the ground or a roof plan. The scope should tell you whether metal, a pipe boot, fasteners, sealant, adjoining shingles, or other materials will be addressed. It should also say what stays in place.
Sealants can have a specified role in a roof assembly. Ask whether the proposed application is part of a permanent repair detail or interim protection awaiting further work. The important point is understanding the purpose, limitations, and follow-up of the work you are authorizing.
Account for the surrounding materials
Ask how much roofing must be removed to access the detail and whether the remaining shingles can be worked around reliably. At a wall, clarify whether siding needs removal and reinstatement. At a chimney, ask whether masonry conditions affect the roofing recommendation.
If opening the area reveals damaged decking or another concealed concern, agree on the approval process before the project starts. Request photos and a written price for added work. Use our roof repair estimate checklist to keep these questions with the proposal.
Ask why repair or replacement is recommended
A contractor may recommend replacing a flashing component, rebuilding the surrounding detail, or expanding the roofing scope. Ask which observed conditions support that choice and whether it can be completed without damaging material that remains.
A larger project should have a clear explanation. Our guide to partial roof replacement helps you compare boundaries, the condition of adjoining shingles, and the roof areas you would retain.
Confirm product and weather requirements
Ask which installation instructions apply to the proposed materials and how the crew will assess safe access and surface conditions. For late-fall and winter work around Indianapolis, agree on how a weather delay or need for temporary protection will be communicated. Confirm the actual schedule with the contractor rather than assuming every flashing repair fits a single visit.
03 / Your repair decision
Keep these questions with your roof records
- Which flashing location is involved, and what evidence connects it to the concern?
- Is the source established, or does the proposal include further investigation?
- Which components and adjoining materials will be removed, replaced, or reused?
- Does the work require siding, masonry, or another trade, and who coordinates it?
- Is any temporary work clearly separated from the permanent repair?
- How will concealed damage be documented and approved?
- What written coverage applies to this particular repair?
- What photos and closeout information will I receive?
Does a flashing leak mean I need a new roof?
The suspected location alone does not settle that decision. Ask the inspector to assess the affected detail and the surrounding roof, then explain whether a localized repair is practical. The condition of the materials that must remain is part of the decision.
Should I inspect the flashing myself?
You can share photos taken from safe, accessible locations and describe what you have noticed indoors. Avoid roof access, lifting shingles, or disturbing flashing to investigate. Tell the contractor about active water entry and any immediate safety concerns when arranging the visit.
What should I keep after the repair?
Save the original proposal, approved changes, before-and-after photos, invoice, and written coverage terms. Note the next substantial rain or thaw and report recurring symptoms with dates and photos. These records make a follow-up conversation more useful if further investigation is needed.
Raptor’s roof repair team serves Indianapolis and nearby Central Indiana communities. Share the roof feature involved and your repair history when requesting an inspection.
Let’s look at your roof
Tell us what you’ve noticed.
Share where water appears, when it started, and any previous repairs. Raptor Roofing can inspect the concern and discuss a scope for your home in Indianapolis or nearby Central Indiana communities.
Call to confirm current inspection availability and any urgent water-entry concerns.
Keep the written scope, completion photos, invoice, and applicable warranty terms together for future reference.