
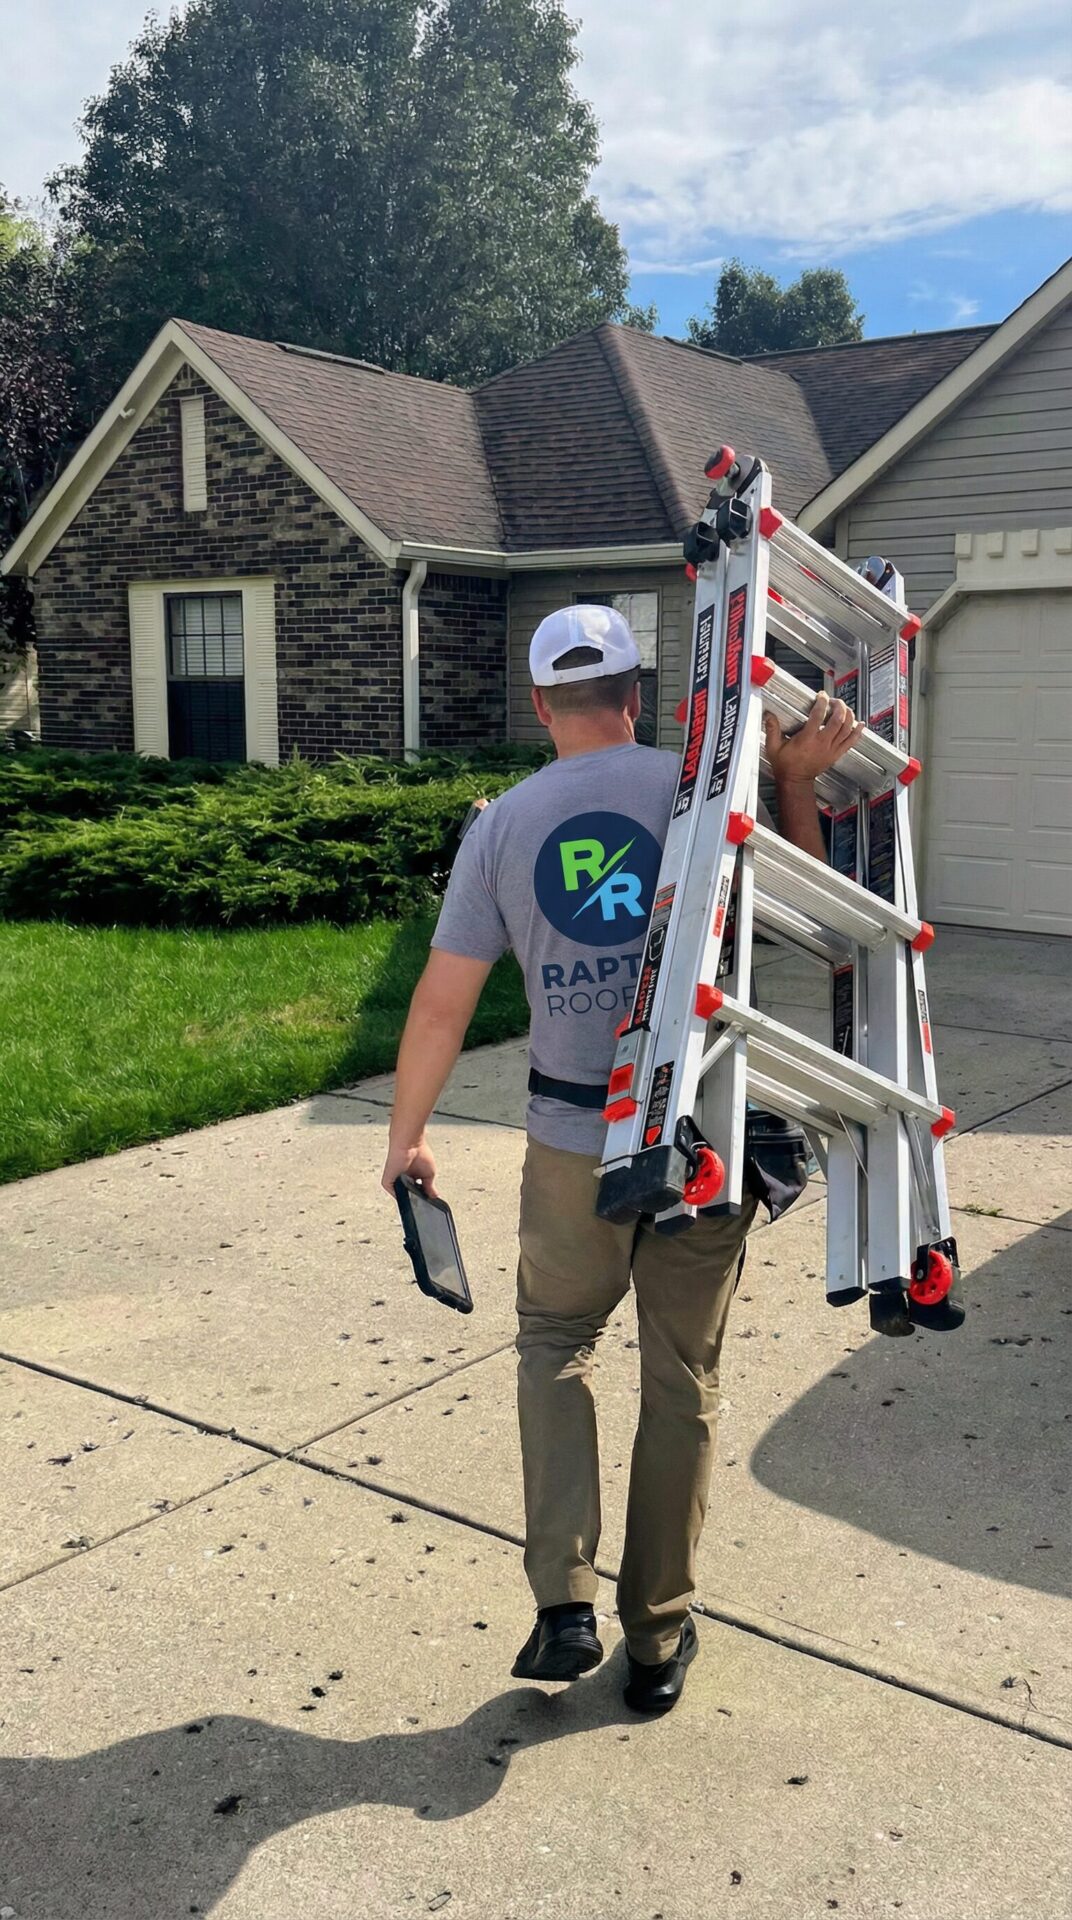
Indiana adjuster visit checklist
Walk into the adjuster visit with one clean roofing record.
A useful inspection leaves you with facts, photos, and next steps. This guide gives Indiana homeowners a practical roofing path while keeping coverage decisions where they belong: with the insurer and the policy.
At a roof adjuster inspection, the carrier’s representative documents conditions for the insurer and may review the roof, exterior components, and related interior damage. Prepare the claim number, storm timeline, photos, temporary-repair receipts, leak notes, and contractor findings. The adjuster evaluates the claim; the roofer explains roof conditions and construction scope.
Before the appointment
Build one clean file before anyone climbs the roof.
Good preparation is not about coaching an outcome. It is about making sure dates, affected areas, safety concerns, and available evidence are easy to review. Put the claim number, assigned adjuster, contact information, inspection date, and reported loss date at the top of the file.
Photos
Keep dated photos of exterior conditions, interior stains, active dripping, temporary protection, and damaged belongings.
Timeline
Write down when the storm occurred, when you first noticed damage, and every protection or repair step taken.
Receipts
Save emergency tarping, drying, cleanup, and other reasonable temporary-protection receipts.
Roof findings
Have the contractor’s inspection photos, roof measurements, condition notes, and repair or replacement recommendation available.
Access
Clear attic access and affected rooms if the adjuster asks to inspect them. Secure pets and gates.
Questions
Write down what you need explained, including next steps, timeline, and how the itemized decision will be delivered.
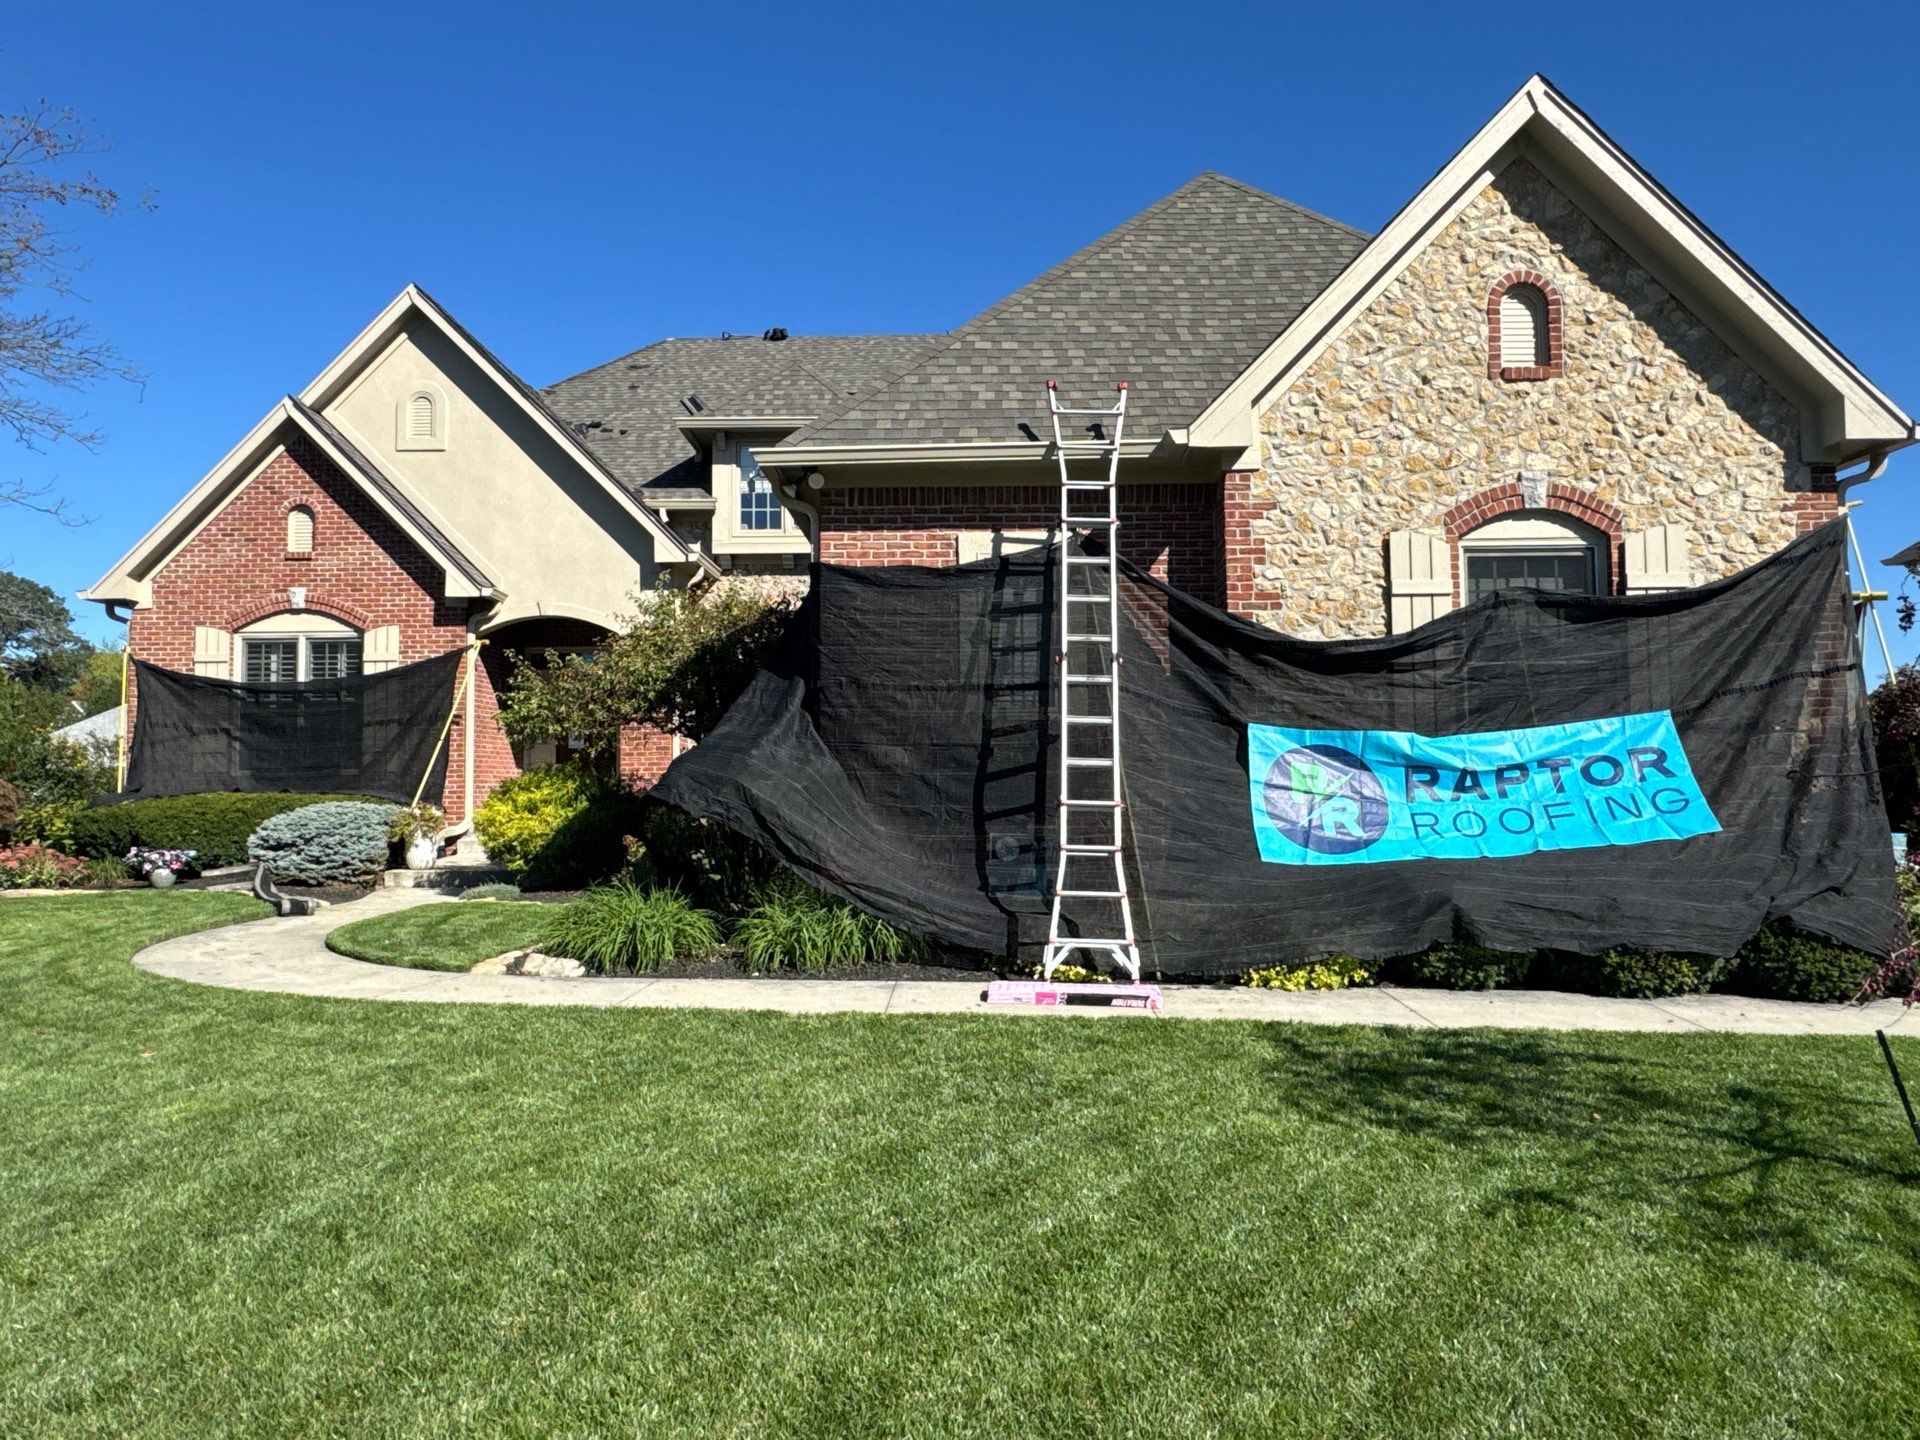
What may happen during the inspection
Opening conversation
The adjuster may confirm the reported event, affected areas, prior repairs, and what temporary steps were taken.
Exterior review
Depending on access and safety, the inspection may cover roof slopes, ridge caps, flashing, vents, gutters, downspouts, siding, windows, screens, and soft metals.
Interior review
For a leak, the adjuster may inspect stains, moisture paths, ceilings, walls, attic conditions, and affected contents.
Measurements and photos
The adjuster may photograph, measure, mark, or note visible conditions for the claim file.
Next-step explanation
Ask when to expect the written decision and itemized estimate, and where to send additional records.
Two inspections can happen at the same visit, but they have different purposes.
The roofing contractor may identify visible roof conditions, repairability, materials, and necessary construction work. The insurance adjuster independently evaluates the claim for the carrier. Raptor does not direct the coverage decision.
What Raptor looks for on the roof
A thorough roofing inspection may include shingle creases, lifted or missing tabs, impact marks, ridge and hip damage, flashing failures, pipe boots, vents, exposed fasteners, seal condition, gutters, soft metals, leak clues, previous repairs, and age-related deterioration. The pattern matters: one mark on one component is different from a consistent pattern across multiple slopes.
Raptor can organize those observations into photos and a construction estimate. We can explain why a roof area appears repairable or why a replacement scope may be more dependable. We cannot label a condition “covered” or promise that the carrier will agree.
Questions to ask before the adjuster leaves
- Do you need any additional photos, receipts, or contractor documents?
- When should I expect the written decision and itemized estimate?
- Who should I contact with construction-scope questions?
- Should temporary protection remain in place?
- What should I do if the leak changes or new damage becomes visible?
- Are there deadlines for estimates, repairs, or completion documentation?
What happens after the inspection
The adjuster typically sends findings into the insurer’s review process. The insurer may issue an itemized estimate and decision, request more information, schedule another inspection, or explain why an item is not included. Ask for the written itemization, not only a payment number.
Compare the carrier document with the roofing estimate by roof area, measurements, quantities, materials, and labor operations. If a construction item appears different, ask each party to explain it. For help reading the payment columns, use Raptor’s ACV vs. RCV guide.
Temporary repairs: protect without erasing the evidence
Indiana’s Department of Insurance advises homeowners to take reasonable steps that prevent further damage, keep receipts, and avoid permanent repairs before the insurer’s inspection unless the carrier directs otherwise. Photograph conditions before and after temporary work, and tell the insurer what was done.
If water is entering the home now, do not wait on a blog checklist. Keep people away from sagging ceilings and wet electrical fixtures, move valuables, contain water if safe, and call for professional help. Raptor’s Indianapolis roof repair service explains the roofing side of urgent repairs.
Adjuster inspection FAQs
Know what to prepare and what to expect next.
Should my roofing contractor attend the adjuster inspection?
Ask both the contractor and insurer about scheduling. When available and permitted, the roofer can point out documented roof conditions and explain construction scope, while the adjuster independently evaluates the claim for the insurer.
How long does a roof adjuster inspection take?
Timing varies with roof size, pitch, access, safety, weather, and the extent of exterior and interior damage. Ask the assigned adjuster what areas need to remain accessible and how much time to reserve.
What should I have ready for the adjuster?
Keep the claim number, storm date if known, photos, temporary-repair receipts, leak notes, contractor inspection findings, prior repair records, and a list of affected areas together.
What happens after the roof adjuster inspection?
The insurer reviews the findings and communicates its decision or requests more information. Ask for an itemized written explanation and compare any roofing scope with the contractor's documented estimate.
Keep reading
Continue through the decision center.
A better first step
Get the roof facts before making the big decision.
Raptor Roofing will inspect the roof, document visible conditions, and explain whether the practical roofing path looks like maintenance, repair, or replacement. If insurance is involved, you will have a clearer scope for that conversation.